

Whatever you may be celebrating, rock painting can add some panache to the celebration table. Try your hand at painting your own unique Name Initial rocks to adorn your table. You can also use absolutely any background colour to suit the occasion and any combination of leaves, berries or flowers around the initials. For this tutorial, I’ve used gold as a base with green, red and white accents.
What you’ll need for this project:
• Smooth, rounded rocks
• White Chalk paint
• Dragon’s Gold paint
• Lily White paint
• Cherry Red paint
• Aqua Blue paint
• Jet Black paint
• Soft graphite 6B pencil and a hard pencil (4H)
• Dotting Tools
• A fine round brush such as a 4/0, Round 1 paintbrush and a Flat 8 paintbrush.
• Downloadable Alphabet sheet at this link
Let’s begin, you can follow the step-by-step rock painting instructions and pictures below.
Step 1: You’ll need some smooth, rounded rocks – as many as you need for your table setting.
Step 2: Using White Chalk paint and a flat wide brush (a Flat-8 brush will work well), give each rock a coating, keeping your brush-strokes even and smooth. Only paint one side of the rock (top side) and allow to dry, turn it over and paint the other side.
Step 3: When both sides are dry, decide if the rocks need a second coat of paint (this depends on the colour of the original rock – if it’s dark, you may need a second coat of Chalk paint all round).
Step 4: When your Chalk paint is completely dry and the finish on your rocks is opaque and even, paint your first layer of gold using the Flat-8 brush again and Dragon’s Gold paint. Again, paint only the top of the rock first.
Step 5: The first layer of gold paint will look a bit patchy and you might be tempted to apply your paint thickly to cover the patchiness but don’t do that. The patchiness is correct and this allows you to build up a few layers of gold paint to create a rich patina. Apply gold paint to the top and sides of the rock, allow to dry, then apply to the bottom of the rock. When dry you can do this process again.
Step 6: On these rocks, I have applied 4 layers of gold paint to create a rich, shiny, even surface. Each layer of gold paint makes the finish richer and richer.
Step 7: When your gold paint is completely dry all around, apply a thin layer of Primer to the top side of the rock. Apply the Primer with your finger so that you get a very thin, even layer. The Primer creates a lovely clear surface for the fine detail painting that you’ll be doing next. To decide which is the top of your rock, try putting it on the table both ways, one way will sit more comfortably than the other.
Step 8: While the Primer is drying, download and print the Alphabet sheet onto normal A4 paper. The PDF can be downloaded at this link.
Step 9: Stick your Alphabet sheet to a window, face-down, use a piece of sticky tape. This allows light to shine through so that you can see the printed alphabet through the back of the sheet.
Step 10: For each letter that you will be painting, scribble with a soft pencil (4B) all over the back of the letter, you can press quite hard with the pencil so that it covers well.
Step 11: Cut out the letters you’ll be using, cut quite close to the edges so that it’s easier for placement on the rock. You can use a normal pair of scissors for this.
Step 12: Holding your letter in place with one hand, carefully trace through on the front, using a hard pencil which is quite sharp (an H pencil is hard enough). This will transfer the pencil onto the rock. It may not look perfectly neat because the rock is quite a tricky shape, but it will be perfect as a guide.
Step 13: To start with the painting, I usually use my paint slightly diluted so that it creates very clean lines. Take a blob of Lily White paint from the pot, using a palette knife (or sucker stick) and put it in a mixing dish. Wet your brush slightly and mix a little white paint into it so that it has the texture of runny cream. A Round-1 brush is good for this.
Step 14: First paint the thicker areas of your letter (usually the down-strokes). With the diluted paint, it won’t be perfect coverage but that’s fine for a base coat. The traced pencil marks might be quite wonky so just do your best to create straight lines with your brush and paint, using the traced pencil lines as a guide for positioning.
Step 15: Once the thicker letter areas have one layer of white paint, take a fine brush (a Gold 4/0 works well) and paint the serifs (little pieces that stick out). To do this you can use the paint undiluted. Keep your fine brush clean and only dip the front tip into the paint while you’re painting.
Step 14: Then paint the thinner areas of the letters.
Step 15: Once your first layer of white on the letters is dry, use a soft eraser to rub away all your pencil marks and any smudged pencil areas on the rock.
Step 16: Using your Round-1 and Round 4/0 brushes, give the letters on your rocks a second and third layer of white paint where necessary. For these layers, your paint can be undiluted.
Step 17: When your letters are all neatened up and the paint is dry, use your soft pencil to draw a guide for some leaves, somewhere to the left of the letter is usually enough.
Step 18: Use your palette knife again to get a blob of Aqua Blue paint and Jet Black paint onto your mixing dish.
Step 19: Using your Round-1 brush, mix the 2 colours together roughly, so that your brush will pick up darker and lighter shades at the same time.
Step 20: Paint a thin stem on the area you marked with your pencil, then paint tiny, delicate leaves, starting at the top and adding more as you go down the stem.
Step 21: Add more lines with your soft pencil for the berry stems.
Step 22: Paint the berry stems with your finer Gold Round 4/0 brush.
Step 23: Using a medium-sized dotting tool, dot bright red berries on the ends of the stems using Cherry Red paint.
Step 23: Using a small dotting tool, apply white dots through the plant stem and around the berries.
Your Name Initials are complete. Since they will probably remain indoors on your table, they don’t need varnish. But if you would like to give them extra protection from scuffing, you can paint on a layer or two of clear Varnish.
Products used in this tutorial
-
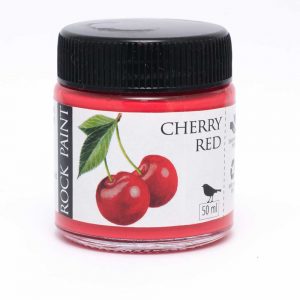
Cherry Red
R44.00 Add to cart -

Jet Black 50ml
R44.00 Add to cart -

Lily White 50ml
R44.00 Add to cart -
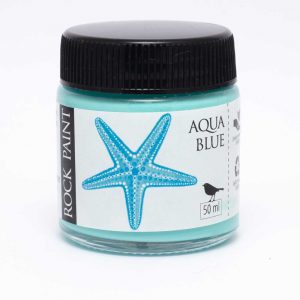
Aqua Blue
R44.00 Add to cart -

Dragon’s Gold
R60.00 Add to cart -
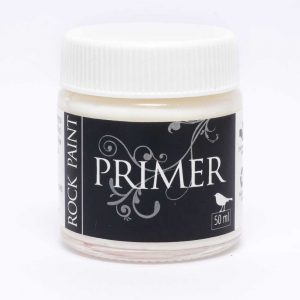
Primer
R56.00 Add to cart -

Double-Sided Dotting Tool Set of 5
R70.00 Add to cart -

White Chalk Paint 250ml
R228.00 Add to cart -
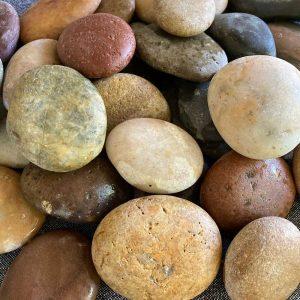
Box of Rocks
R116.00 Add to cart -

Round-1 brush
R35.00 Add to cart


